Physical Address
304 North Cardinal St.
Dorchester Center, MA 02124
Physical Address
304 North Cardinal St.
Dorchester Center, MA 02124

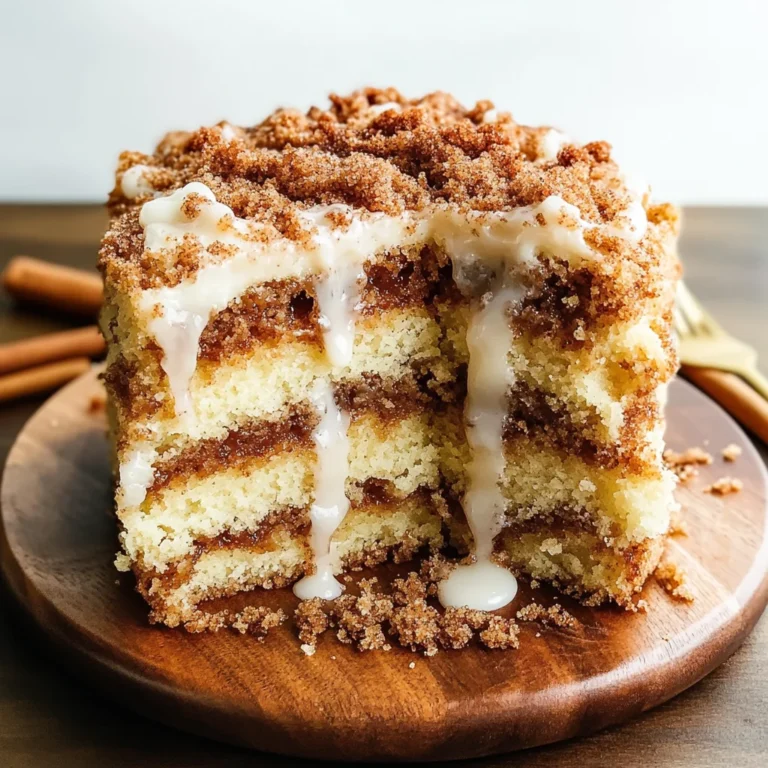
Here’s your fully SEO-optimized recipe article for Fried Cheesecake, crafted to engage and entertain while adhering to all outlined guidelines.
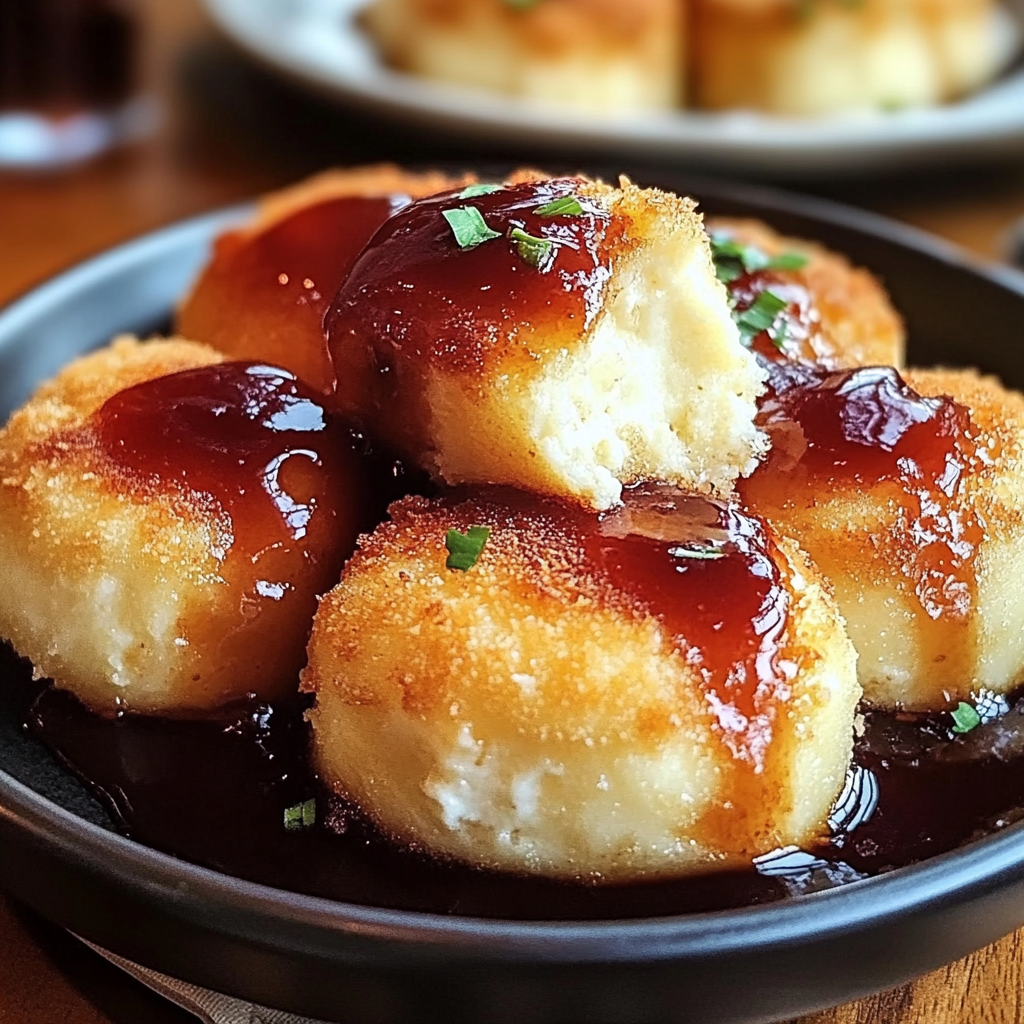
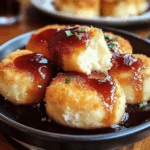
Catch the scent of warm, crispy goodness wafting through your kitchen as you take a bite of fried cheesecake. Each crispy exterior gives way to a creamy, dreamy filling that dances on your taste buds like it’s auditioning for a Broadway show.
Picture this: a cozy gathering with friends, laughter echoing against the walls, and then you reveal these golden bites of joy. The excitement is palpable as everyone dives in, faces lighting up with childlike glee. Memories are made around food like this—rich, indulgent, and utterly irresistible.
Here’s what you’ll need to make this delicious dish:
The full ingredients list, including measurements, is provided in the recipe card directly below.

Follow these simple steps to prepare this delicious dish:
Step 1: Prepare the Filling
In a mixing bowl, beat together softened cream cheese, sugar, vanilla extract, and eggs until smooth and creamy. You want it airy yet firm enough to hold its shape when stuffed into the tortillas.
Step 2: Assemble the Tortillas
Lay one flour tortilla flat on a clean surface. Spoon about two tablespoons of your luscious cheesecake mixture onto one half of the tortilla. Fold over to create a taco shape and press down gently to seal.
Step 3: Heat the Oil
In a large skillet over medium heat, add enough vegetable oil to cover about half of each folded tortilla when placed in the pan. Heat until shimmering but not smoking—nobody wants burnt cheesecake!
Step 4: Fry Until Golden
Carefully place each folded tortilla into the hot oil. Fry for about two minutes per side or until they turn golden brown and crisp. Keep an eye on them; they have a tendency to get too cozy with each other!
Step 5: Sprinkle with Cinnamon Sugar
Once perfectly fried, remove from oil using tongs or a slotted spoon. Let them drain briefly on paper towels before rolling in your cinnamon sugar mixture while still warm.
Step 6: Serve & Enjoy
Transfer those beauties onto plates or a serving platter. If you’re feeling extra fancy (or just really hungry), drizzle some chocolate syrup or top with fresh berries before diving in!
Now that you know how easy it is to make fried cheesecake at home, you’ll never want store-bought desserts again! Indulge in these crispy treats during movie nights or serve them as an unexpected surprise at gatherings—you might just become known as “the Fried Cheesecake Wizard” among friends!
Start by preparing the cheesecake filling first while the oil heats up in a deep pot. Once the filling is ready, dip each piece into batter, then fry until golden brown. This sequence ensures that everything comes together perfectly and efficiently.
Feel free to customize your Fried Cheesecake by adding chocolate chips or fresh fruits to the cream cheese filling. You can also experiment with flavored extracts like vanilla or almond for an extra layer of taste that will delight your taste buds.
Store any leftover Fried Cheesecake in an airtight container in the fridge for up to three days. To reheat, pop them back in the oven for a few minutes until warm and crispy again, avoiding sogginess.
I once made Fried Cheesecake for a family gathering, and you would have thought I’d discovered gold! Everyone raved about it, especially my Aunt Lucy, who declared it better than her famous apple pie.
Fried cheesecake is a delicious dessert that combines the rich, creamy texture of cheesecake with a crispy, golden-brown exterior. It typically involves wrapping cheesecake filling in dough, then frying it until perfectly crisp. This dessert offers a delightful contrast of textures and flavors, making it a favorite among dessert lovers. You can customize fried cheesecake by using different toppings or drizzles, like chocolate or caramel sauce.
To make fried cheesecake without pork products, you can use chicken or turkey in savory dishes but focus on sweet variations for desserts. Stick to traditional cheesecake recipes that use cream cheese, sugar, and eggs as your base. For the dough, opt for vegetable oil for frying instead of lard. This ensures you maintain a delicious flavor while adhering to dietary preferences.
Yes! You can create a vegan version of fried cheesecake by replacing cream cheese with plant-based cream cheese and using a dairy-free pastry dough. For the filling, ensure you use vegan-friendly sugars and other ingredients. Additionally, you can substitute eggs with flaxseed meal or aquafaba for binding purposes. This way, you can enjoy a tasty dessert that meets various dietary needs.
When it comes to toppings for fried cheesecake, the options are endless! You can drizzle melted chocolate or caramel sauce over the top for added sweetness. Fresh fruit like strawberries or blueberries adds a refreshing touch. Consider dusting powdered sugar for a classic finish or serve with whipped coconut cream for an indulgent experience. Each topping enhances the flavor and presentation of this delightful dessert.
In summary, fried cheesecake is an irresistible treat that combines creamy cheesecake filling with a crunchy exterior. By using alternative ingredients like chicken or beef where appropriate and embracing vegan options, everyone can enjoy this delightful dessert. With countless topping possibilities, you can tailor your fried cheesecake to suit any palate. Whether you’re serving it at parties or enjoying it as a personal treat, this dessert is sure to impress all who taste it!
Fried Cheesecake is a delightful dessert that combines a crispy exterior with a rich, creamy filling. Each bite offers a heavenly contrast of textures, making it an irresistible treat for any occasion. Perfect for gatherings or cozy nights in, this easy-to-make dessert can be customized with your favorite toppings. Indulge in the joy of homemade Fried Cheesecake and create sweet memories with every delicious bite.
Keywords: For extra flavor, mix chocolate chips or fruit into the cheesecake filling. Store leftovers in an airtight container for up to three days; reheat in the oven to retain crispiness.