Physical Address
304 North Cardinal St.
Dorchester Center, MA 02124
Physical Address
304 North Cardinal St.
Dorchester Center, MA 02124

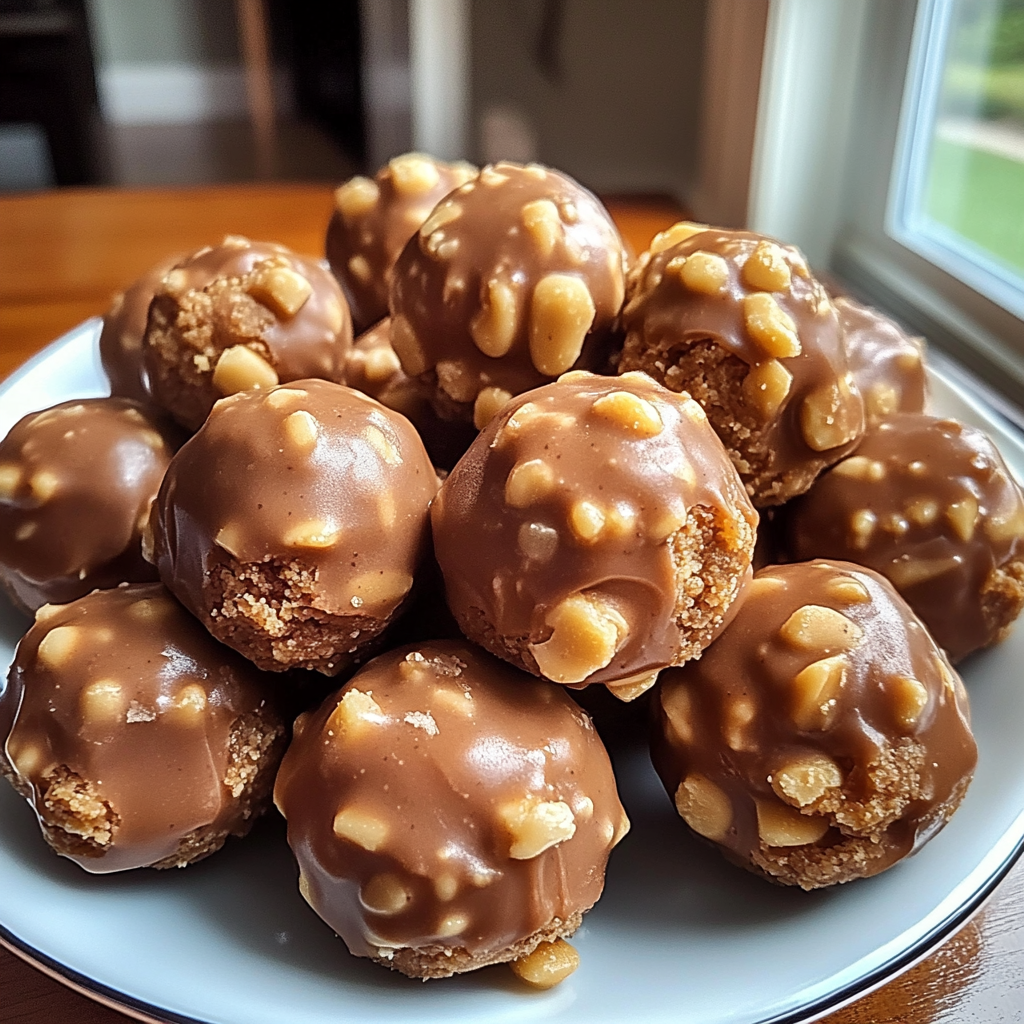
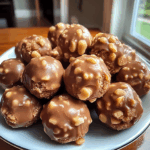
Butterfinger Balls are a delightful snack that brings together creamy peanut butter, crunchy texture, and a chocolatey finish that makes your taste buds dance. Imagine the bliss of biting into a sweet treat that combines nostalgia with modern indulgence; each bite is like a warm hug from your childhood.
I remember the first time I made Butterfinger Balls; it was a rainy afternoon, and I was desperately searching for something sweet to lift my spirits. As the aroma of melting chocolate wafted through my kitchen, I knew I had stumbled upon something special. These bites are perfect for gatherings or cozy nights in, promising satisfaction that goes beyond the ordinary.
Here’s what you’ll need to make this delicious dish:
The full ingredients list, including measurements, is provided in the recipe card directly below.
Follow these simple steps to prepare this delicious dish:
Step 1: Prepare Your Workstation
Start by gathering all your ingredients and tools. Line a baking sheet with parchment paper so you’ll have a place to set your finished Butterfinger Balls – trust me, they’ll want a cozy spot!
Step 2: Mix It Up
In a medium bowl, combine the peanut butter, powdered sugar, and vanilla extract. Use a spatula or wooden spoon to mix until everything is smooth and well incorporated. It should resemble thick dough – you may even want to lick the spoon (I won’t tell!).
Step 3: Form the Balls
Using your hands (or a cookie scoop if you’re feeling fancy), shape the mixture into small balls about one inch in diameter. Place them on the prepared baking sheet as you go. Make sure they’re spaced out because these little guys will need their personal space!
Step 4: Chill Out
Once all your balls are formed, pop them into the refrigerator for about 30 minutes. This helps them firm up so they hold their shape when you coat them in chocolate.
Step 5: Melt Chocolate Magic
While your balls chill, melt the chocolate chips and coconut oil together in a microwave-safe bowl in short bursts of about 15 seconds, stirring between each burst until smooth and glossy.
Step 6: Coat Those Balls
Take one chilled peanut butter ball at a time and dip it into the melted chocolate using forks or toothpicks. Let any excess chocolate drip off before placing them back on the parchment-lined sheet.
Once you’ve coated all your Butterfinger Balls in luscious chocolate, put them back in the fridge to set completely – about another 30 minutes should do it!
And there you have it! Serve these delightful treats at your next gathering or keep them all for yourself (we won’t judge). Enjoy every crunchy yet creamy bite of these heavenly Butterfinger Balls!
To create the perfect Butterfinger Balls, start by mixing your creamy filling first. While it chills, melt your chocolate coating. Then, scoop and shape your balls for a smooth coating.
Feel free to customize these treats! Swap out peanut butter for almond or sunflower seed butter for a nut-free version. Add a sprinkle of sea salt on top for an extra flavor kick.
Store your Butterfinger Balls in an airtight container in the fridge for up to two weeks. If you want them extra crispy, enjoy them straight from the refrigerator without reheating.
I remember the first time I made Butterfinger Balls for a potluck. They disappeared faster than I could say “chocolate heaven,” leaving me with nothing but empty plates and requests for the recipe!
Butterfinger Balls are delightful treats made from a combination of crushed peanut butter-flavored candies, creamy peanut butter, and powdered sugar. This mixture is rolled into bite-sized balls and often coated in chocolate for a sweet, crunchy exterior. These no-bake treats are simple to prepare and require minimal ingredients, making them an easy choice for parties and gatherings.
Yes, you can make Butterfinger Balls without chocolate if you prefer a lighter treat. Instead of coating the balls in chocolate, you can roll them in crushed nuts or coconut for added texture and flavor. Alternatively, you could simply enjoy them plain. The base mixture remains delicious even without the chocolate coating.
To keep your Butterfinger Balls fresh, store them in an airtight container at room temperature for up to five days. For longer storage, place them in the refrigerator where they can last up to two weeks. If you want to keep them even longer, consider freezing them. Just make sure to separate each ball with parchment paper before placing them in a freezer-safe bag.
Absolutely! You can customize your Butterfinger Balls by adding different flavors or textures. Consider incorporating crushed pretzels for a salty crunch or using almond butter instead of peanut butter for a nutty twist. You could also experiment with various toppings like sprinkles or chopped nuts to create unique variations that suit your taste.
Butterfinger Balls are a fun and easy treat that everyone will love. Made with simple ingredients like crushed candies and peanut butter, these no-bake delights are perfect for any occasion. Whether you choose to coat them in chocolate or customize them with your favorite flavors, they promise a satisfying crunch and rich sweetness in every bite. Enjoy these treats fresh or stored for later; they are sure to become a favorite snack in your home!
Butterfinger Balls are the ultimate no-bake treat that combines creamy peanut butter and rich chocolate for a nostalgic flavor experience. These bite-sized delights are perfect for parties or cozy nights at home, offering a satisfying crunch wrapped in a sweet, chocolaty coating.
Keywords: For variations, try using almond butter instead of peanut butter or rolling the finished balls in crushed nuts instead of chocolate. Store in an airtight container in the fridge for up to two weeks.